Throughout the design process, you often need to include additional image resources in your style.
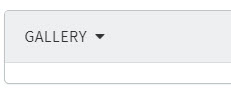
The Gallery section allows the user to include additional images such as components, embroideries, beadings, stitch details etc and create a digital Bill of Materials.
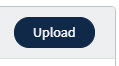
To create your digital BOM, begin by uploading your additional images via the upload button
The media upload screen lets you drag and drop or browse to your file location
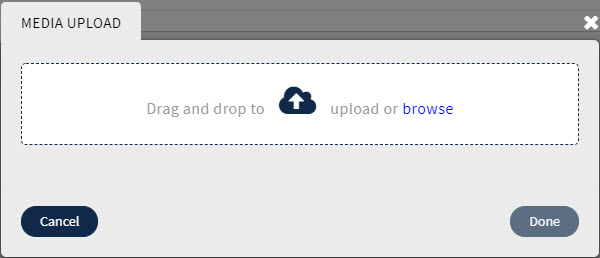
Navigate to your storage folder and select individual files or a group and select the open button, or drag the required files directly onto the media upload screen.
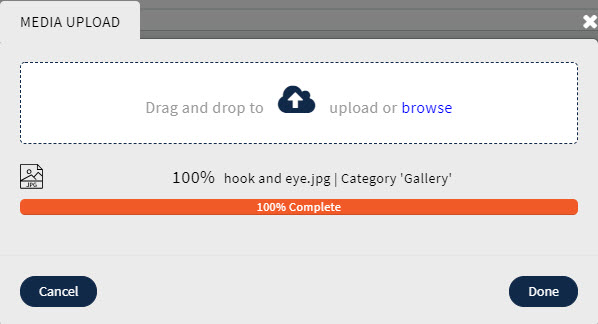
The progress bar will display as each file is added to your gallery.
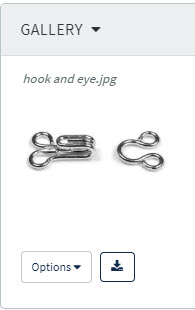
The image name can be edited to suit your preference, by clicking on the text area and entering your new text description.

If the main fabric has been associated in the costing you can use the 'Copy from main fabric' to attach the component image from the library.

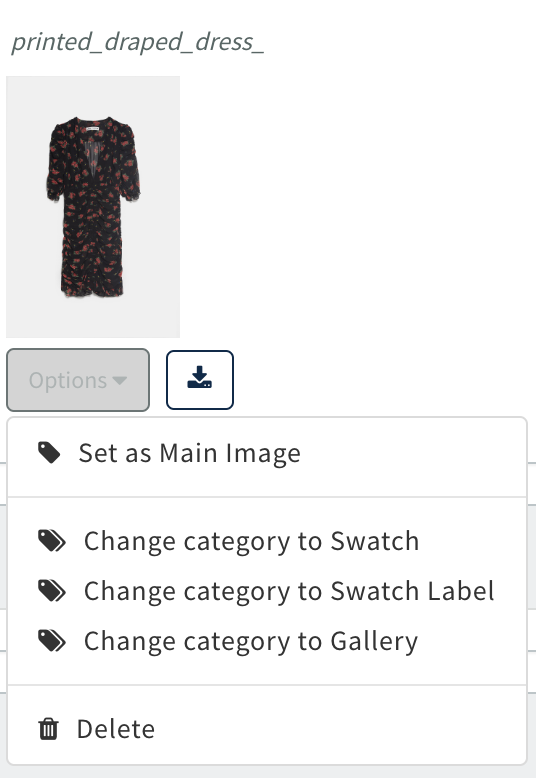
To change the Image that displays as the main image choose Options 'Set as main Image'
Also you can use the change... options to move the image in the gallery to another section or delete the image completely
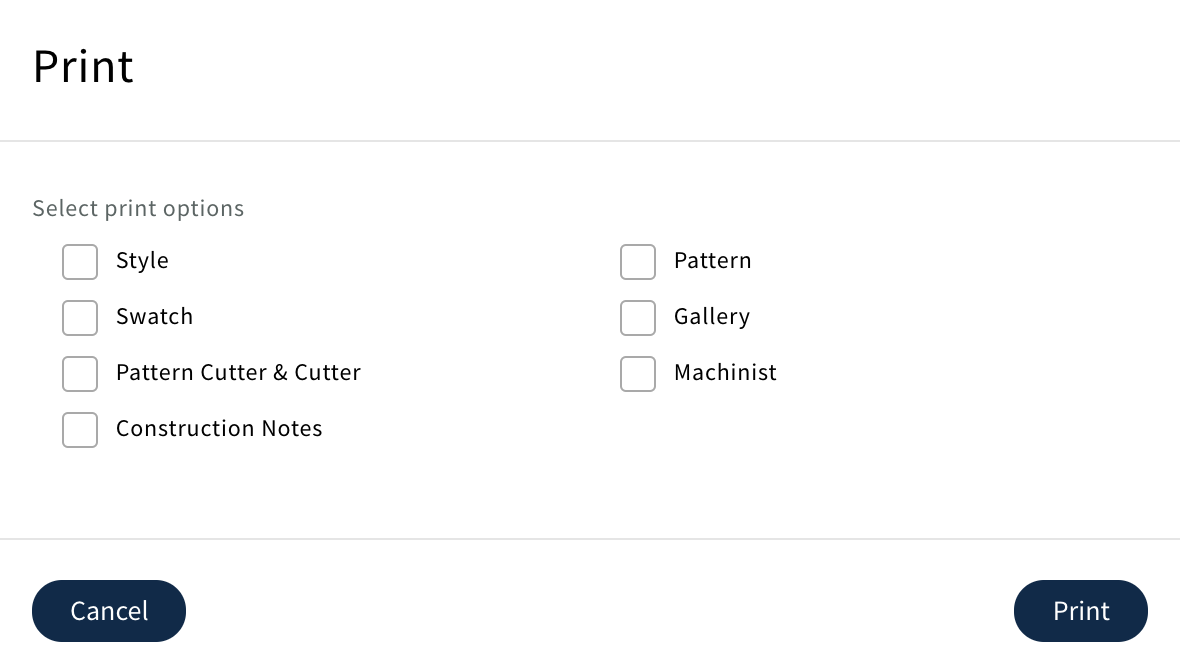
To print your gallery images, select the Action button and choose the print option.

Choose the Gallery option and print
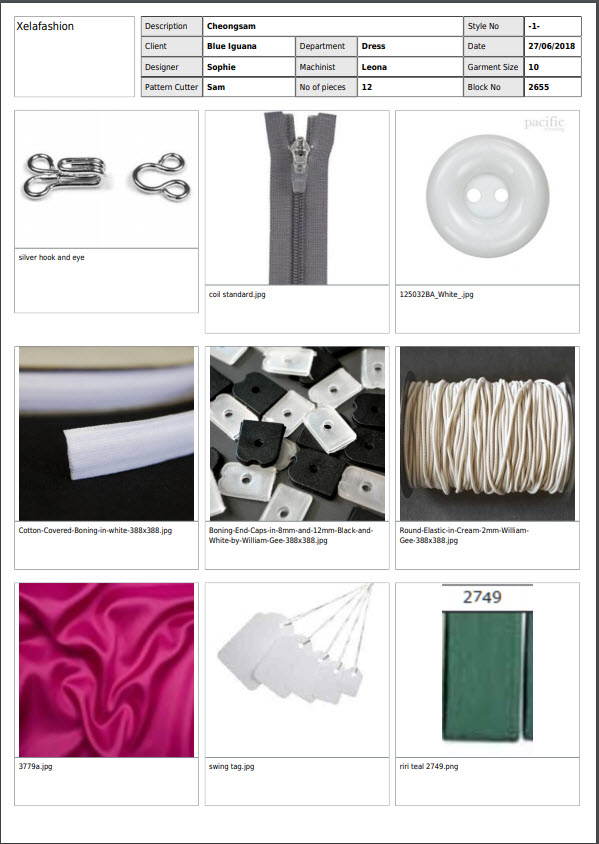
The gallery page shows key style information with each of your images and their description.
Once your style has been sold and a Sales /Production Order created the gallery in the Order becomes independent from the Style gallery.
0 Comments